
Business9 min read18 min video
Plan it. Shoot it. Edit it. Then choose your platform carefully.
How to Create an Online Course for Animation: What I Wish I Knew First

Key takeaways
- Making a course comes down to four stages: planning, shooting, editing and choosing a platform.
- Plan your course as thoroughly as you would an animation shot: one topic, a clear level, then modules, sub modules and lessons.
- Your mic matters more than your camera. Poor audio tires people out long before poor video does.
- Editing is the most time-consuming stage. Record camera and screen in 4K, and hire an editor if you've never edited before.
- The platform is where most people go wrong. Weigh how much of the revenue it takes against how well it promotes your course.
If you’ve got a ton of knowledge in your head and want to get it out, this is for you. I made my first course a couple of years ago, before I knew what I was doing. There’s an art to course making, and this is the guide I wish I’d had on how to create an online course, and get it right the first time.
Through Animworks, many friends and peers, people I’ve worked with, have asked me the same question: “I’m interested in making a course. How do I go about it?” If professionals have that question, I have a feeling many of you do too.
The games, VFX and film industries are full of knowledge that could be passed on. For those willing to share it, there are normally two paths: mentorship or courses. This one is about courses, and about teaching animation in a way people finish.
I break it into four stages. Stay with me to the end, because the last one is where most people make their biggest mistake.

- PlanPlan the course as thoroughly as you'd plan an animation shot.
- ShootDeliver it with energy, and get your audio right.
- EditSet one standard for every module. Get help if you need it.
- PlatformChoose where to host it with your eyes open.
Step 1: How do you plan an online animation course?
I want to give a massive shout-out here to Pierrick Picaut, a fellow YouTuber, and to Laura Lico. Both have made courses, and they’ve given me the most knowledge on creating a course that is well put together. Pierrick in particular makes thorough courses, spending a year or more on each one, with all kinds of detail and polish.
Planning was the first thing they both told me about.
Make sure you plan this as thoroughly as you would an animation shot.
But here you also need to be a bit like a DJ. You’re putting the knowledge together in a cadence that makes sense to anyone watching. When a course is hours long, people need to see the value, so they can get through it and finish it.
Pick a topic only you can teach
For me it starts with the topic, and the idea behind it. I look for something I haven’t seen out there in the market. If it’s been done before, I’m just saying the same thing in different words.
So ask yourself: what isn’t out there right now that you, and only you, can teach?
Decide who the course is for
Once you have a topic, the next job is breaking down a complex subject so it’s simple enough to learn. That’s harder than people expect.
A course can be taken by someone who’s a complete amateur and doesn’t even know Maya. It can also be taken by someone experienced who just wants to know what’s in your head. So how do you make it simple enough for a novice and still deep enough that a professional gets value from it?
This is where you choose where your course sits. Is it for the entry-level person, or the professional? Sort out the title, how you’ll go from the simplest ideas to the most complex, and the level you’re pitching at, and everything else gets much easier to break down.
Break it into modules and lessons
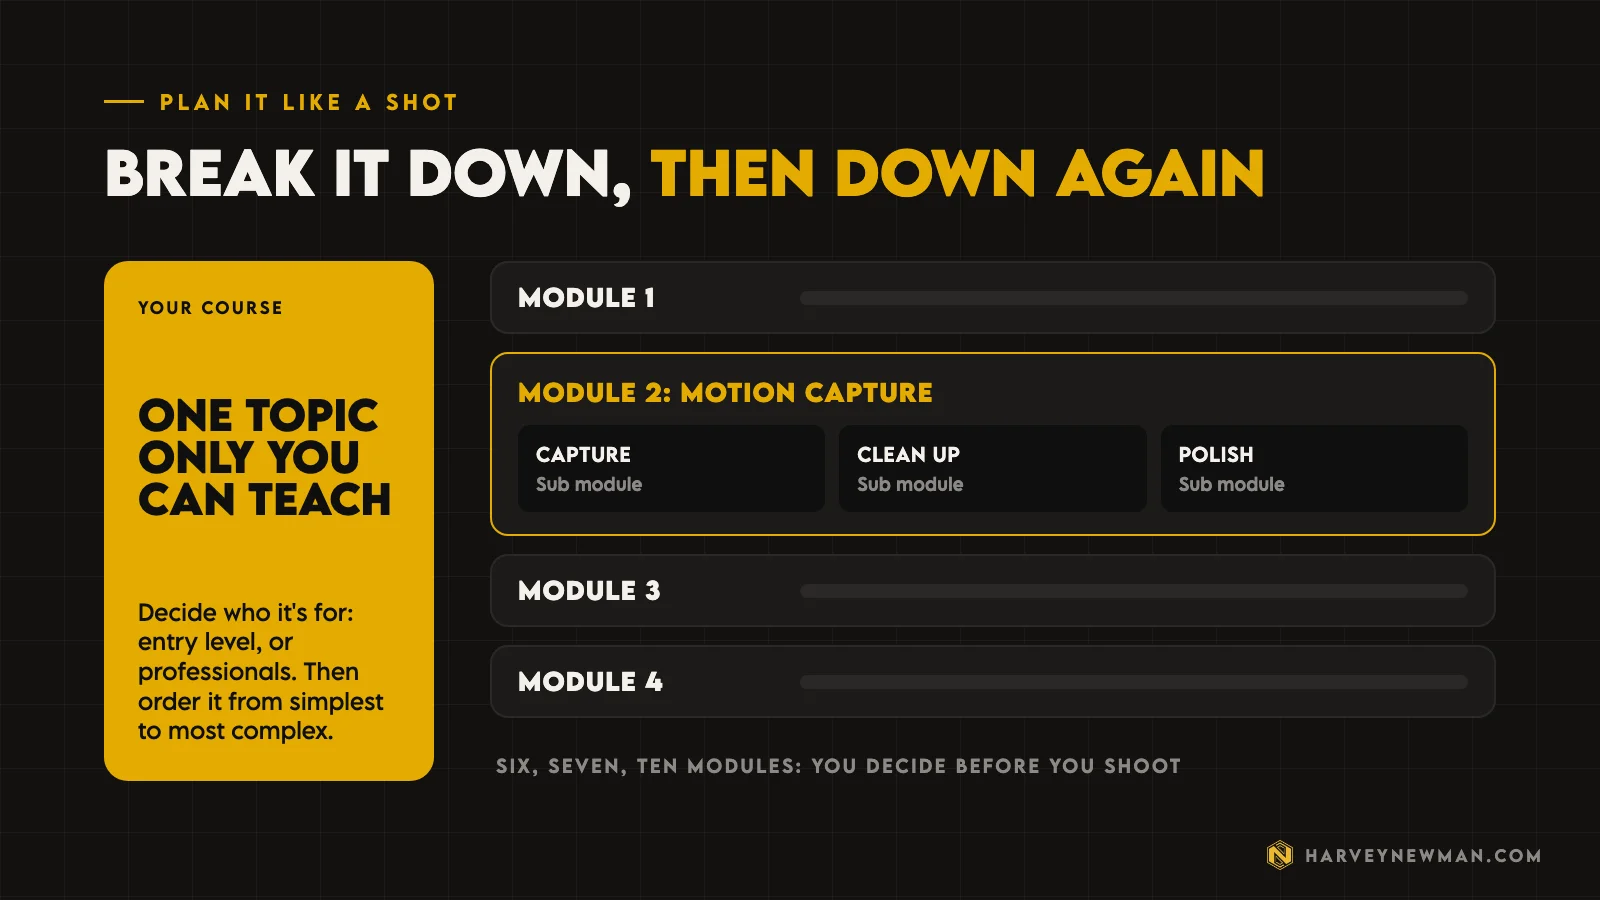
Then break it down further. How many sections will your course have: six, seven, ten? Within each one, how many sub modules?
Say one module is all about motion capture. The sub modules might be how to capture it, how to clean it up, and how to polish it. Keep going until you have modules and sub modules, lessons and sub lessons, so you know exactly what you’re going to talk about before you start shooting.
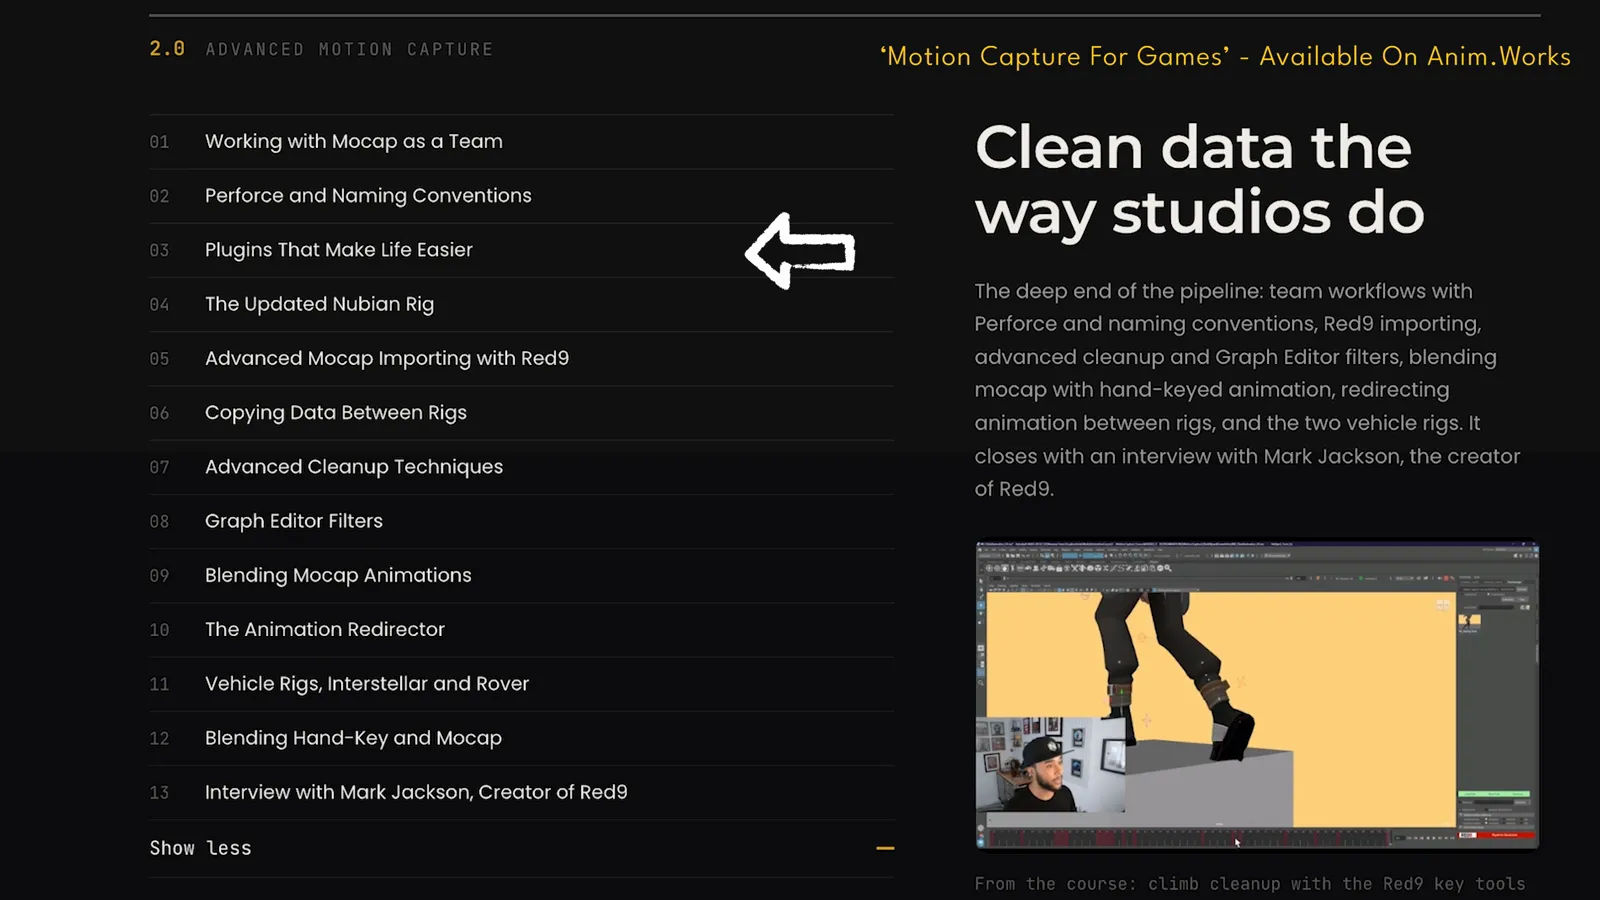
Here’s what that looks like in practice. This is one section of my own Motion Capture for Games course, broken into 13 lessons.
Step 2: How do you shoot course videos to camera?
This is more complex than people expect. Most people reading this don’t have much experience talking to a lens, and it’s hard. I’ve been doing it for eight or nine years now.
If you’re not used to it, you’ll probably feel distracted, because it feels like nobody’s listening. But the way you deliver a message is as important as the planning you’ve done. Delivery is what keeps people motivated and engaged enough to keep watching.
So test it first. Don’t treat your first recording as a final lesson. Record one, two or three, then listen back, or ask your partner to listen and tell you if it’s engaging and if you have enough energy.
One of the biggest problems I see is that people who aren’t used to the camera sound flat: “You do this, and then you do this, and then you do this.” There’s no feeling to it and no personality coming through. Amp up your energy. Imagine you have people in front of you, and don’t be intimidated by the camera.
Don't be put off by how you sound. This is just practice.
Harvey Newman
The more you do it, the better it gets. I guarantee your videos will be more professional by the end of the course than at the start. You might go back and reshoot the early ones if they bother you. Either way, what matters is getting the first course out. The second one will be easier.
Why your mic matters more than your camera
The most practical tip I can give you: your mic is more important than your camera.
Audio fatigue is real. If your mic sounds thin and sharp, you won’t keep people for more than about five minutes. Eventually they’ll think, “OK, I can’t. This is too much.” That’s why voice matters more than visuals.
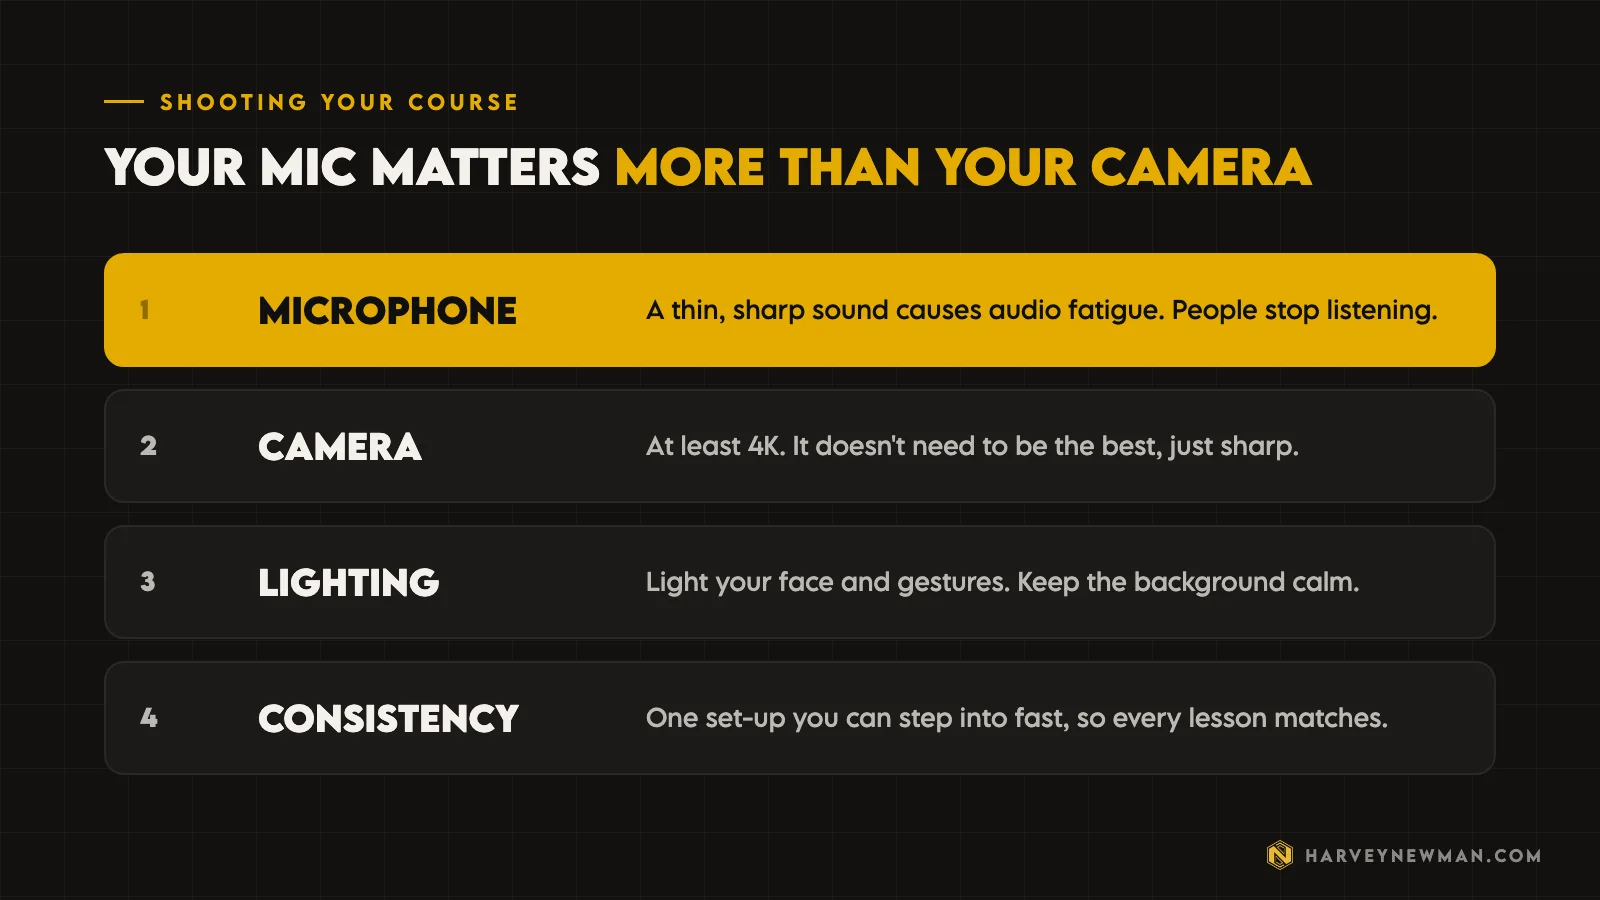
- Camera. Aim for at least 4K. It doesn’t need to be the best camera out there, just sharp enough to look good.
- Lighting. Make sure people can see your face and gestures clearly, and keep your background calm so nothing distracts from your message.
- Consistency. Set up a place where you can pick up and shoot quickly.
My camera sits on the corner of an L-shaped desk, with my computer to the side and my script right next to the camera. I can plan at the computer, then switch the camera on, put the card in, read my script to camera and move into tutorials. Set up your environment to win. You’re going to shoot a lot, and everything needs to look the same every time.
What about wearing the same clothes in every video? I thought about it too. Don’t worry. People couldn’t care less.
Step 3: How do you edit an online course?
Editing is arguably the most time-consuming stage of all. If you’ve done the planning, you can shoot every video back to back instead of shooting one, editing it, then shooting the next.
The edit is where you set the standards for the whole course: how long each module runs, and how graphics work, like lower thirds, titles, or arrows pointing at things on screen. Every module should be consistent from beginning to end.
A good tip: you’ll be capturing your camera and your screen, so record both in 4K. There’s nothing worse than fuzzy text you can’t read while someone is showing you how something works. You can always export at 1080p later, but 4K is a good standard to record at.
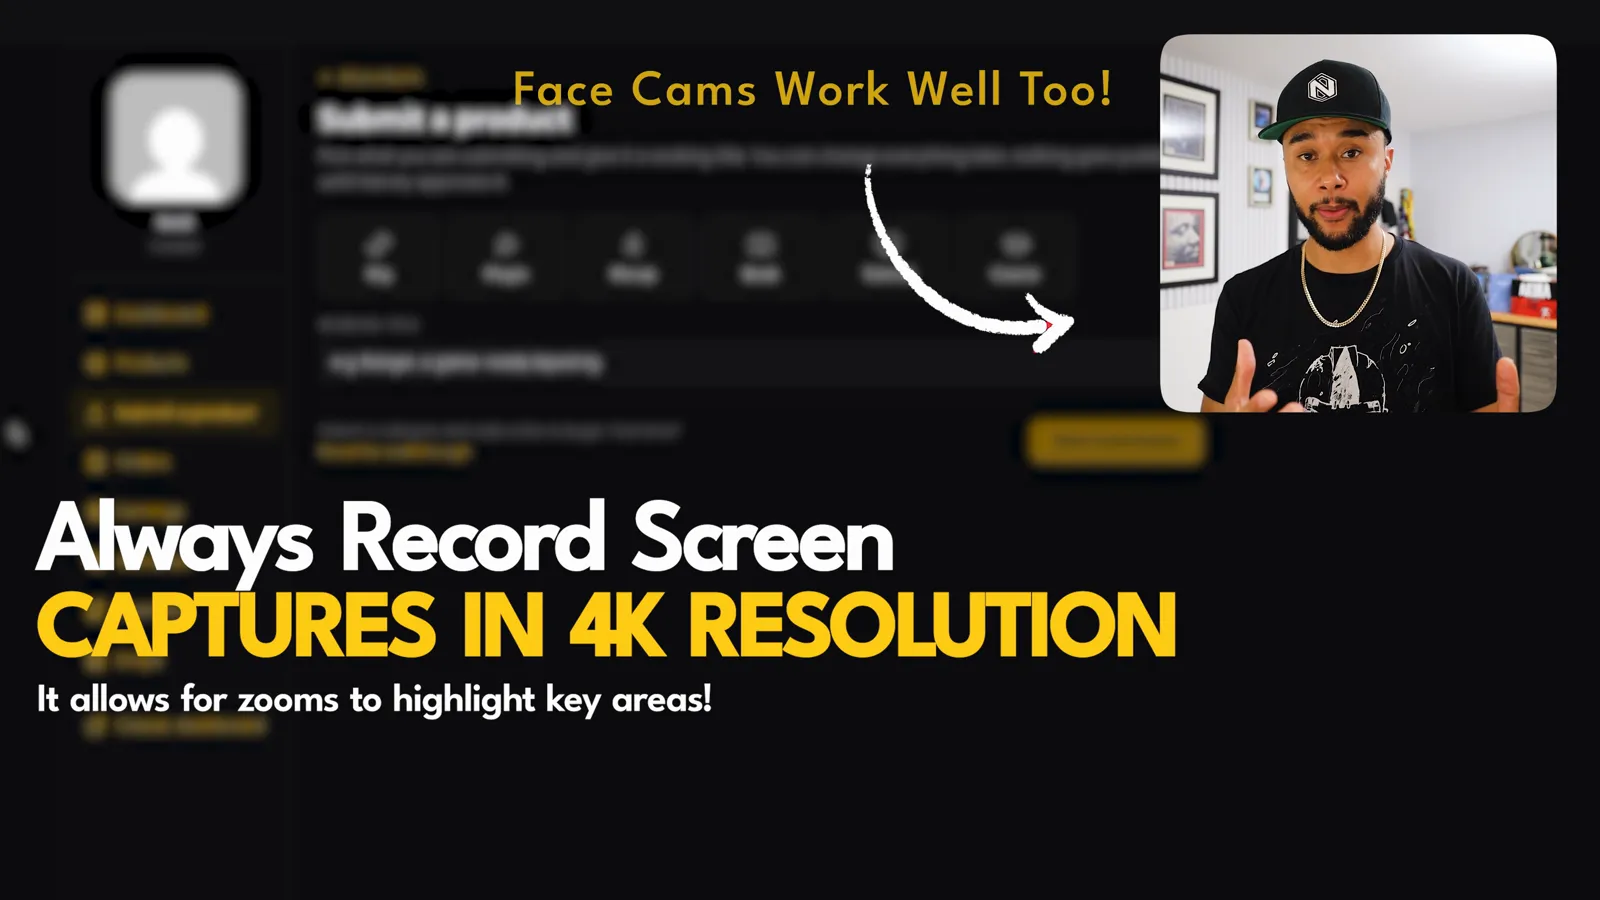
If you aren’t familiar with editing, get an editor to help you. You’ll find plenty on sites like Fiverr or Upwork. Finding a good one is hard and can take a few tries, so if you already have a course idea, start looking now.
Hiring an editor is a small investment that pays massive dividends later on.
This is also something we help with at Animworks. Alex Maniotis planned and shot his course, Unreal Animation Unlocked, himself, filming for a good month or two. We then helped him edit all the modules. Connor, the editor who cuts my YouTube videos, edited Alex’s course too. The quality is high, and Alex was over the moon with it.
Step 4: Where should you host and sell your online course?
This is the stage most people get wrong, and the one I had to do the most homework on. I released my course before Animworks existed, so I looked at everything out there, like Skillshare, and talked to plenty of people before deciding where to host it.
What I learnt from those conversations is that marketplaces like Skillshare aren’t always the best at promoting your content, so you might not make the revenue you expected. Nothing is more deflating than spending ages planning, shooting and editing, ending up with content you know is gold, and finding nobody is paying attention to it.
In the end I built my first course on Teachable, then moved to Kajabi. Both are good starting platforms for anyone who wants to teach. You pay them a monthly subscription, and Kajabi is more expensive, but depending on your plan, most of the revenue is yours to keep. You can do your own promotion and be your own go-getter: “Here’s my course, go and take it.” You don’t have to give away so much money to a big marketplace like Udemy.
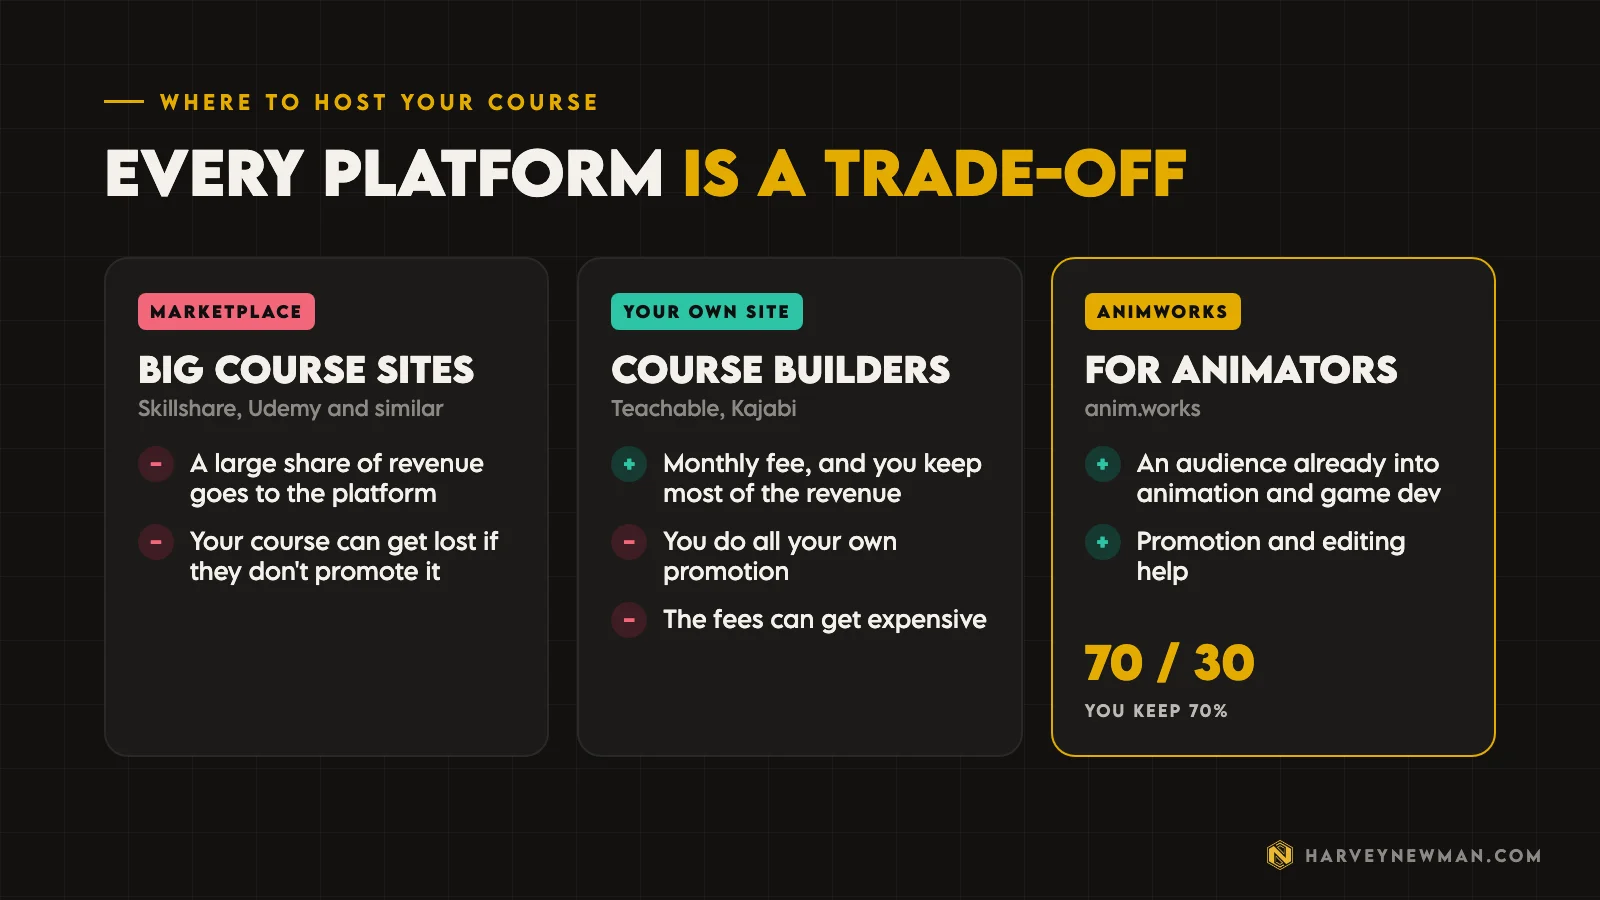
Why we built Animworks with a 70/30 split
Kajabi was ultimately too expensive for me, even though I loved the website and its features. That experience is part of why we created Animworks. The idea was that anyone who wants to host a course should have a platform, and a fair share.
At Animworks it’s a 70/30 split: you keep 70%, and we keep 30%. Our 30% sustains the platform and pays for promoting your course. Based on my research, that’s one of the highest creator shares out there.

The bigger point for me is the audience. Animworks is about game development and animation, so the people there are already interested in what you have to teach. It’s made by animators for animators, and by game developers for game developers.
No pressure, though. Choose whatever platform suits you. Just do your homework, because there are two ways this goes wrong:
- You have a successful course, but you pay a massive cut to the platform.
- You have a great course on a platform that doesn’t promote it, so there’s no revenue.
If you’re a professional ready to share what you know, you can submit your course idea to Animworks. We can host it, help with the editing and promote it.
How to create an online course: the four stages recapped
Plan it like an awesome animation. Do it well and you save a bunch of time later.
Harvey Newman
- Planning. The most important stage. Go into as much detail as you can, for as long as you can.
- Shooting. What matters is the message and how you deliver it. Bring personality and attitude, so people stay engaged for however many hours the course runs.
- Editing. Arguably the hardest stage. If you learn to edit while making your first course, it’ll most likely take you more than a year. If you want to do that, go for it, because those skills stay with you forever. If you want it out quickly, hire an editor.
- The platform. Far more complicated than I expected. Who do I host with? What do they give me, and what do I give them? One platform exclusively, or several? Am I losing revenue? Everyone I spoke to before publishing told me to be careful about where I hosted, and they were completely right. A platform can take a massive cut of your work, and it can frame your work badly if you’re not careful.
Once your course is out there, the positives are huge. There’s nothing better than someone telling you, “Because of your course I got a job,” or “Because of your course I have a new skill and I’m working on my showreel,” without paying a huge amount for a school or university.
If you’re also thinking about what you’d teach, my breakdown of how a professional game animation pipeline works is a good example of the kind of studio knowledge people want.
Are you planning a course? Tell me what you’d teach in the comments on the video.
The video
Watch the full breakdown
Questions people ask
How do you create an online course?
Work through four stages. Plan the whole course first, from the topic down to every lesson. Shoot it all in one go with good audio and consistent set-up. Edit it to one standard across every module. Then pick a platform with care, because it decides how much you earn and who sees your course.
What equipment do you need to record an online course?
A good microphone first, because poor audio causes listener fatigue. Then a camera that shoots at least 4K, decent lighting on your face, and a consistent spot you can step into and record quickly. Record your screen in 4K too, so text stays sharp.
Where should I host and sell my online course?
Marketplaces can take a large cut and may not promote you. Course builders like Teachable and Kajabi charge a monthly fee and let you keep most of the revenue, but you do your own promotion. Harvey's own platform, Animworks, pays creators 70% and promotes courses to an audience of animators and game developers.
How long does it take to make an online course?
It depends on the course. Some creators spend a year or more on one. If you've never edited before and you learn to edit while making it, expect it to take you more than a year. Hiring an editor is the fastest way to get it out.
Do I need to be good on camera to teach animation online?
No. Most people feel awkward talking to a lens at first. Record a few test lessons, listen back, and lift your energy. You get better with every video, and by the end of your first course you'll be far more comfortable than at the start.
And remember,
there are no shortcuts for animation.
 Stay well, stay safe,Harvey NewmanBook a free call →
 Looking for knowledge?How to Thrive in the Games Industry: The Long GameMy book on building a career in games and keeping it. CRC Press, 246 pages.Get the book →
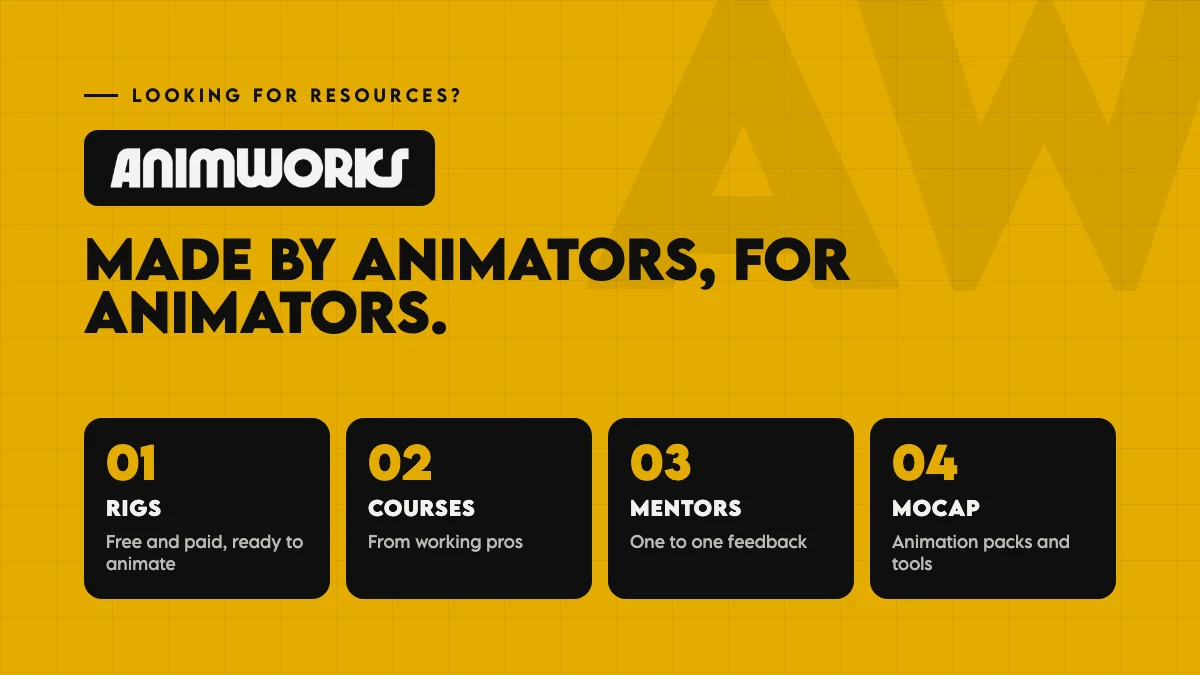 Looking for resources?Rigs, courses and mentors on AnimworksFree and paid rigs, courses from working pros, one to one mentoring and mocap packs.Visit anim.works →
 The Game Animation Pipeline: How I Build One, AAA or Indie12 Jun 2026
 Freelance Animator or Game Developer? How to Adapt to the Co-Dev Future20 Mar 2026
 Leaving AAA and Going Independent: How I Did It After 20 Years2 Oct 2026
 Mastering Motion Capture for Games: Advanced Techniques and Tools From AAA12 Nov 2024